How to use Windows Azure Portal to deploy Fourtytwo
Here we show in detail how to use Windows Azure Portal to deploy Fourtytwo.
1 - Create a new 'Affinity Group'
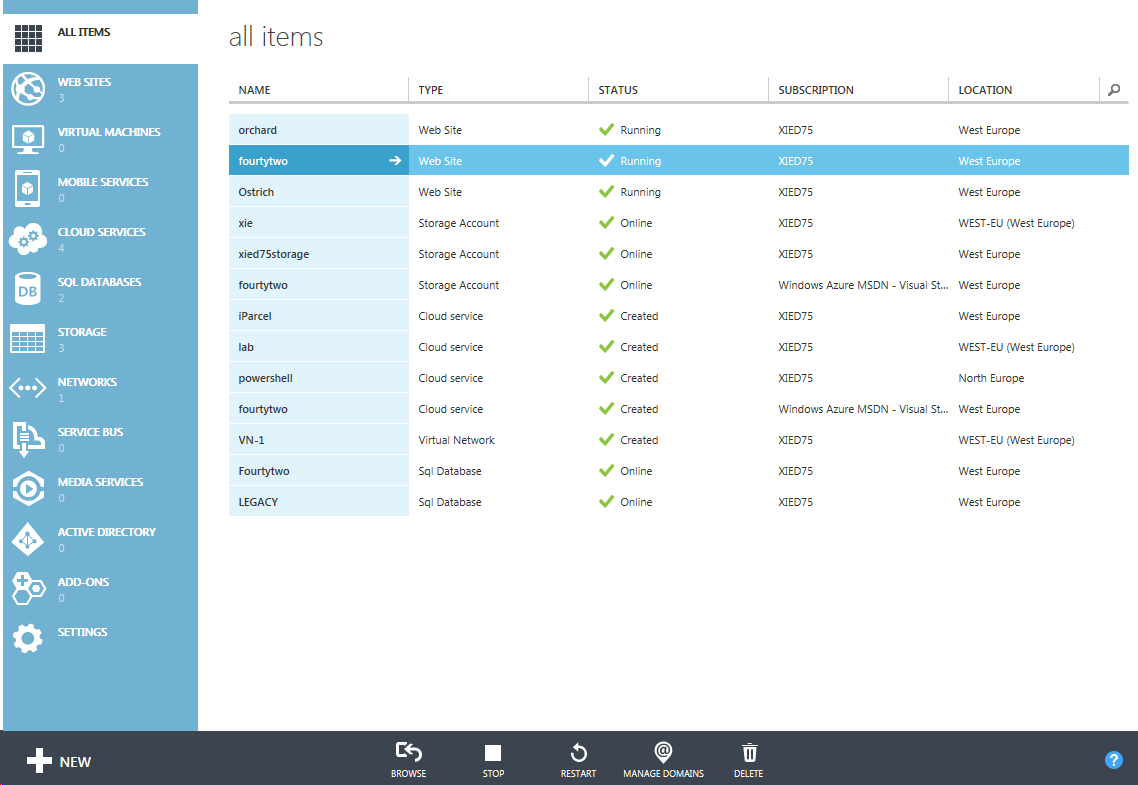
After you login the Windows Azure Management Portal, you'll see something like this:

Then click left panel 'NETWORKS', then click 'AFFINITY GROUPS' in the main area; you'll see a 'create' at bottom, click and give a name to your affinity group, and choose the region appropriate to you. By using this, we can group all your Azure resources to the same region/data centre thus having better performance and reduce the cost.
2 - Create a new 'Storage' account
Left panel again, click 'STORAGE', then click the bottom left 'NEW' button, choose 'QUICK CREATE'. Choose a unique name (the URL) for your storage account, in the drop down list of REGION/AFFINITY GROUP, remember to choose our new affinity group other than a region! Then uncheck the 'Enable Geo-Replication'.
Once your new storage account listed in the main area is ready, click on the name, then click 'CONTAINERS', click 'ADD CONTAINER' at bottom, give a name e.g. 'TEMP', leave it as 'Private'.
Then in the main area, click 'DASHBOARD' above your list, at the bottom click 'MANAGE KEYS', if you click on the little icon right side to your 'PRIMARY ACCESS KEY', this key will be copied to clipboard.
Now we need to use the Azure Storage Explorer tool. Run that and click the 'Add Acount' button at top, fill in your storage account name, and paste in your key. Don't tick other checkboxes. You should be able to see your account listed in the dropdown list, and under 'blobs' there should be the container e.g. 'TEMP' showing up. Use this tool please upload the fourtytwo_db.bacpac file into container 'TEMP'.
3 - Create a new 'Database'
At left panel, click 'SQL DATABASES', then click bottom 'IMPORT', click 'BACPAC URL' you should see your container 'TEMP' then the bacpac file, choose that; then give your database a name, e.g. 'fourtytwo'; for the 'SERVER' dropdown, choose 'New SQL Database Server' if you haven't created one. Fill in a login name and give a strong password (you need to keep this information somewhere secure), remember to choose the same region as our affinity group (SQL Azure does not use affinity group yet.) Check the 'CONFIGURE ADVANCED DATABASE SETTINGS', on next page, a 1GB WEB edition is enough.
Please check your new Server - CONFIGURE - allowed services is 'YES' to 'WINDOWS AZURE SERVICES', this will open the firewall to our cloud service.
4 - Create a new 'Cloud Service'
At left panel, click 'CLOUD SERVICES', click bottom 'NEW', choose CUSTOM CREATE. Fill URL with a name, e.g. Fourtyone or Fourtythree, then choose our affinity group and tick 'Deploy a cloud service package now'. On next page, give a name for this deployment, e.g. 'Fourtyone-2013-02-06-d1' for a day's first deployment. Then you can either choose from local or from container for the fourtytwo.cspkg and ServiceConfiguration.Cloud.cscfg file. For the 'ENVIRONMENT' we always use 'PRODUCTION' since 'STAGING' doesn't make sense in our case. Tick all 3 checkboxes. On next page, pick the .pfx certificate file and give the password that was used to secure this pfx file, this is used for Remote Desktop Connection to your instances.